The Intra2net software is based on a full Linux-based operating system. This cannot be installed in parallel with other operating systems on the same device. Should additional software be required on the same hardware, use a virtualization solution.
To create a bootable USB flash drive, you need a USB flash drive with at least 8 GB capacity. The ZIP file that comes with the Intra2net system contains the program rufus.exe to create bootable USB flash drives on Windows.
On a PC with Windows unpack the ZIP archive and start rufus.exe. Use Rufus from the ZIP archive and no other version because it contains modifications necessary for installing. Select the ISO file and the USB flash drive. All other default settings are correct already. During the write process all data on the USB stick will be deleted.
On Linux, you can use the Fedora Media Writer program to create a bootable USB stick. This is either available in your distribution's package manager or can be obtained as a flatpak from Flathub. Choose "Custom Image" and then select the ISO file. The write process will erase all data on the stick.
Start the computer on which you would like to install the Intra2net system from the prepared USB stick.
Launch the computer using the Intra2net installation DVD. It is possible to use either an internal or USB connected DVD drive.
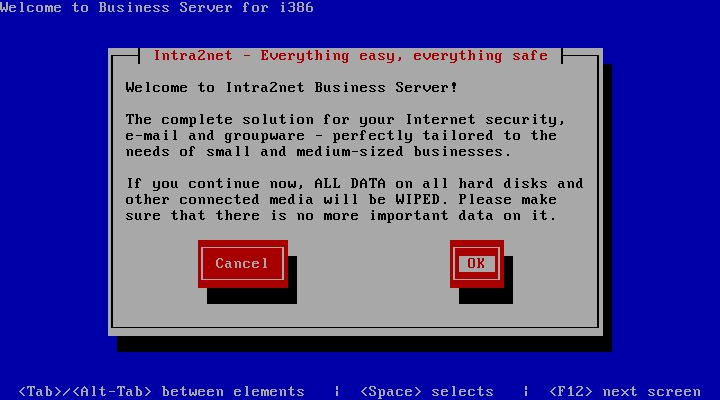
After the successful start of the installation program you will be prompted to start the installation of the Intra2net system.
![[Caution]](../images/admon/caution.png) | Caution |
|---|---|
When starting the installation, all data on the attached hard drives will be overwritten. For this reason, please ensure that all hard drives can be safely wiped before installation. |
If the installation is completed successfully, there will be a prompt to restart the computer. Remove the DVD or USB flash drive to boot from the hard drive. This will start in the installation console, described in 6. Chapter, „The Console“.
If the hardware does not have a normal monitor port, but only a serial console, use a null modem cable or adapter and connect with the parameters 115200 baud, 8 bit, no parity, 1 stop bit. The serial console must be accessed via the first serial port of the system (COM1 or ttyS0). This may have to be adjusted in the BIOS.
Boot the system from the installation media. For classic BIOS, type serial in the boot manager and press Enter. For UEFI, select the option marked "" from the boot menu.
If the installation program displays an error message that there is not enough space available on the hard disk, then either a smaller hard disk than the minimum is installed (see Section 2.1, „Hardware Selection“), the actual hard disk was confused with a USB drive, memory card or a virtual hard disk provided by the BIOS with drivers, or the hard disk was not even found.
Therefore, remove all not needed USB drives and memory cards, which may also be installed inside the case on some systems. Check the BIOS configuration and disable virtual driver drives, see Section 2.4, „BIOS“. Check the configuration of the RAID controller or BIOS RAID, see Section 2.5, „RAID“.
Another reason may be that the hard disk was previously used in a RAID array and now still contains control information for the previous RAID array or inappropriate partitioning data. In this case, perform a format of the hard disk or use a previously unused hard disk.
If the installation program does not start or stops during installation, there is likely a compatibility problem between the hardware and Intra2net software.
First, obtain and install a new BIOS update from the manufacturer of your computer or motherboard. Also check https://www.intra2net.com, to ensure that the latest version of the Intra2net installation DVD is being used.