Start the setup wizard and select "".

The VPN connection should run over an Internet connection.

The VPN type must be left at IPSec.
Do not use an ISDN connection, as a Lancom protocol is used instead.

The connection is established via static IP addresses or Dyndns names.

Give a name to both your own side and to the peer side. The name is not relevant for the connection, it just needs to be unique.
Use certificates (RSA) to authenticate the connection.

Enter a password of your choice. This password is not required as it would only be used for the Lancom ISDN protocol which is not used here.

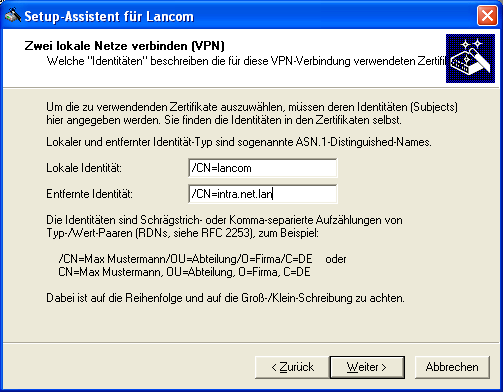
Enter the identity (= owner) of the certificates for your own (Lancom) and remote (Intra2net System) side. The data for the Distinguished Names can be found e.g. on the Intra2net system under System > Keys > Own or Foreign Keys, respectively in the field "". The individual data groups must be entered in the reverse order as shown in the Intra2net system.
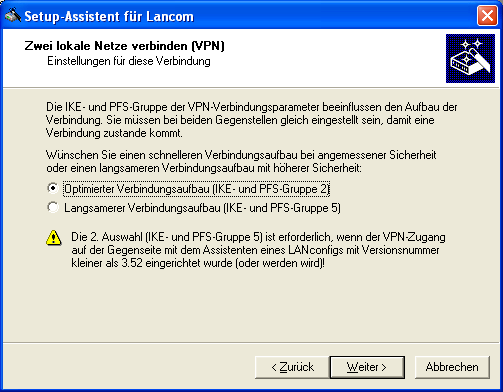
Use the optimized connection setup (IKE and PFS group 2).
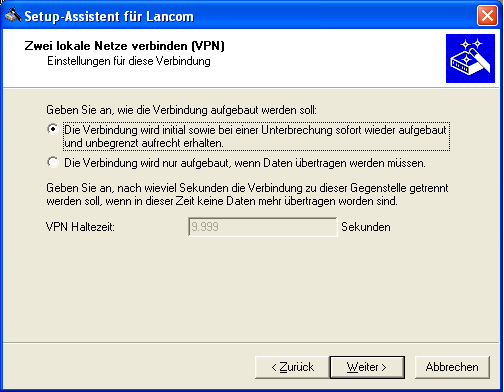
You can either leave the connection open at all times, or start it only when necessary. It is best to adjust the Intra2net system accordingly.
Enter the static IP or the Dyndns name of the Intra2net system as "" (in the example
myserver.dyndns.org). Then enter the IP and netmask of the network behind the Intra2net system, in the example192.168.1.0 / 255.255.255.0.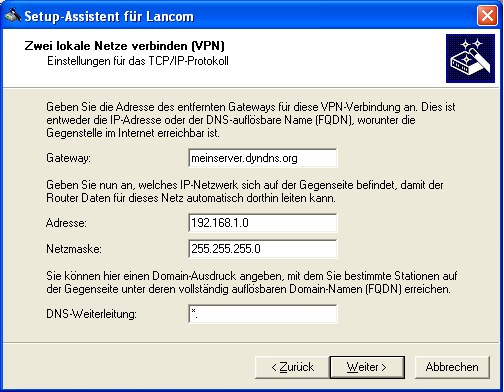
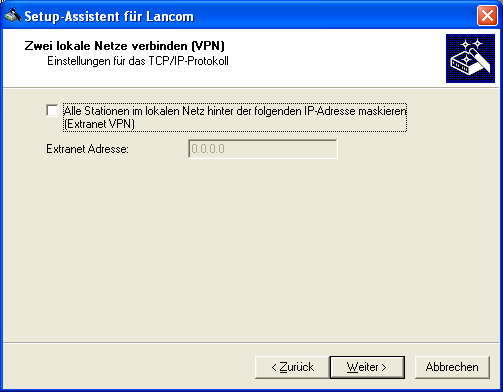
The Lancom router can transfer all IPs of its own network to a single address via NAT. This may be beneficial if the same network area is used on both sides. Leave this function disabled if in doubt.
In any case, deactivate the NetBIOS option. It is based on a proprietary Lancom protocol and prevents the connection from being established. It is usually no longer needed because modern Windows file servers use CIFS over IP.
Close the wizard and start configuring the router without the wizard. Go to ""-Settings, "" tab and click "".
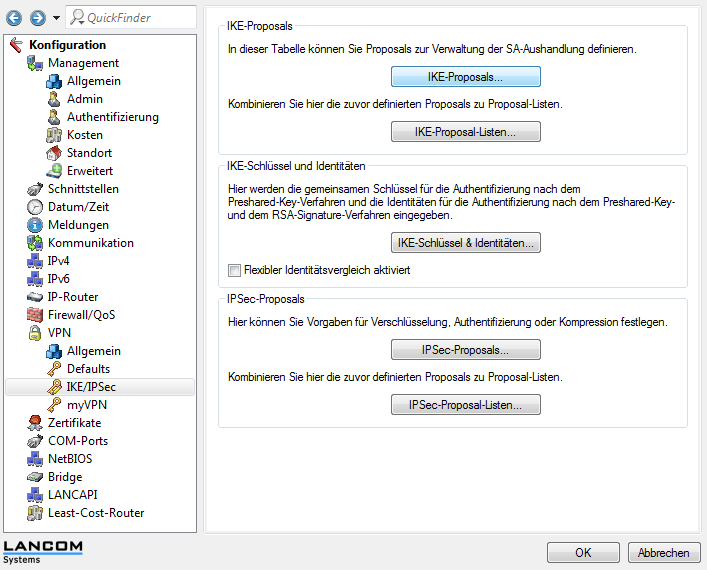
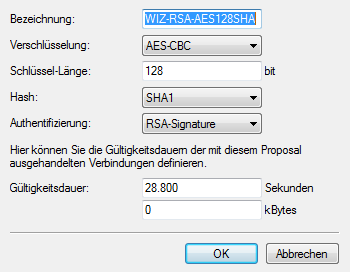
Edit the IKE proposal with the name "WIZ-RSA-AES128SHA".
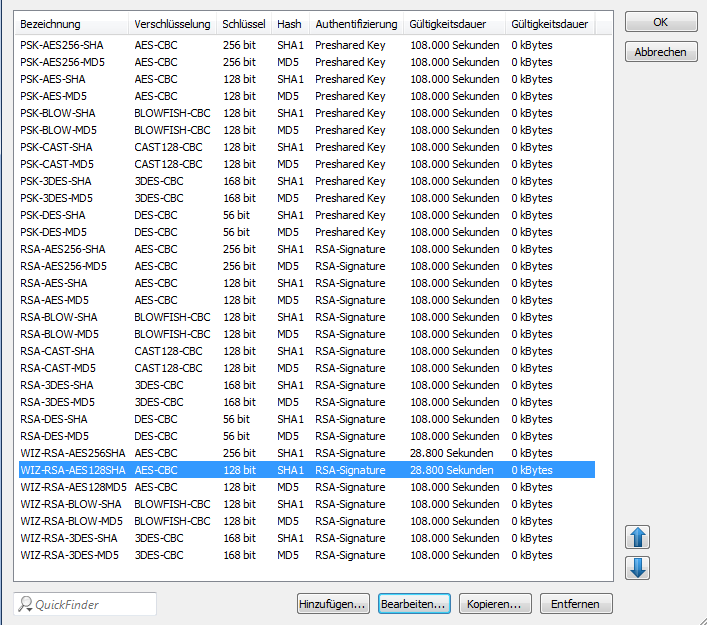
Enter a value that is less than 86400 for the validity period, as this is the maximum value that the Intra2net system accepts. It is recommended to use 28800 here. This corresponds to the standard lifetime for IKE/Phase 1 of 480 minutes in the Intra2net system.